6th October 2022
Why use photos?
I love using photos in language classes. Here’s why:
-
Photos are differentiated materials. Students of different levels can use their own language to describe what they see.
-
Good photos are engaging and a welcome change from reading and listening texts.
-
It’s easy than ever for us (teachers) to take photos. It’s also super convenient to show these to students.
-
Encouraging learners to bring in their own photos to class helps to personalize language learning.
-
Many coursebooks contain large colorful images which are easy to use in class.
Here are five of my favorite activities which use photos to practice language.
#1 Odd Photo Out
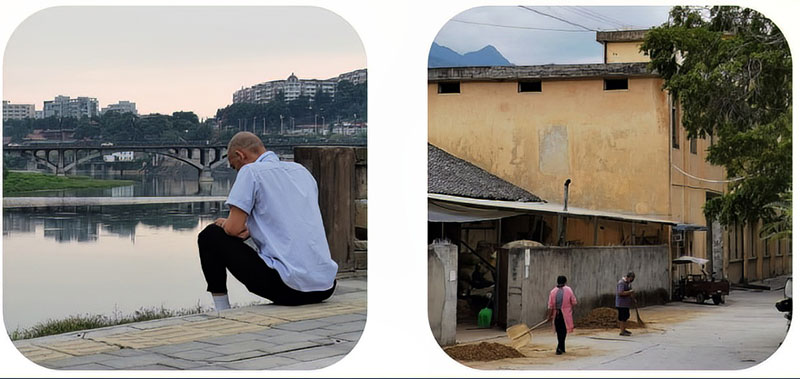
This activity encourages students to write (or talk) about a photo in detail, while speculating about what might be outside of the frame. Students work in small groups, with each student looking at and describing different parts of the same photo. One of these photo fragments come from a different photo; the ‘odd photo out’. Learners guess which is the odd picture out by reading (or listening to) each other’s descriptions.
Level: Elementary – Advanced
Timing: 10 minutes
Class size: 4+
Preparation:
Find two photos of similar subjects. The photos need to include distinct elements in different parts of the picture, like different objects in the foreground and background. Take the first photo and crop this into three parts. Then, add the ‘odd picture out’ by taking the second photo and cropping one part of this. Be prepared to show learners all four photo fragments separately.
In class:
-
Put students in groups of four (so there’s one photo fragment per student).
-
Show each student a different photo fragment. You could do this by giving each student a number from 1-4. Ask students 2-4 to close their eyes while you show student 1 the first picture. Repeat for the other photo fragments.
-
Hide the photo fragments.
-
Give students two minutes to write about the part of the photo that they saw. Encourage students to describe the photo in detail. Students can also speculate about what else might be happening beyond the frame of their image.
-
Students read (or listen to) each other’s descriptions and guess which description is the ‘odd photo out’.
-
Afterwards, ask students to reflect on what information they used (or missed out) which helped them guess accurately.
Alternatives:
-
For large classes, do this as a jigsaw task. Put students in groups and show each group a different photo fragment. Students prepare a description in their first group, then swap groups. The new groups should contain students who each described different photos.
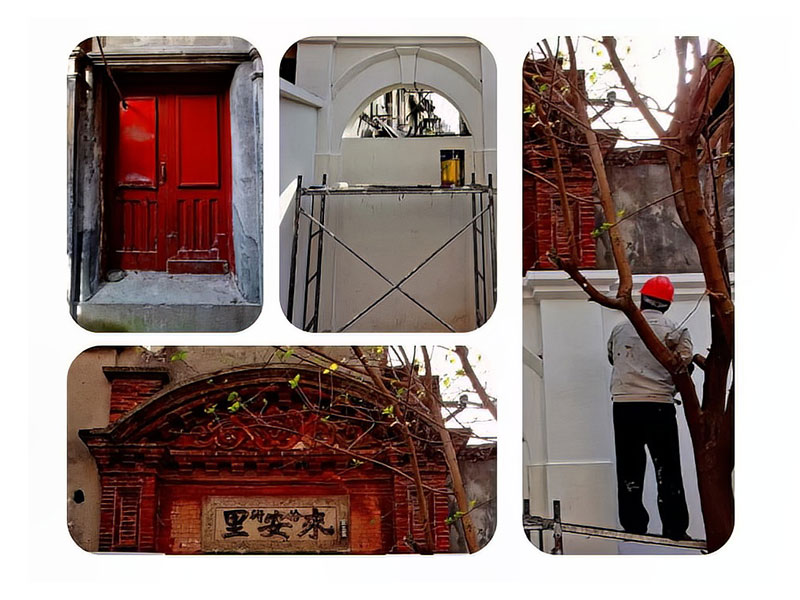
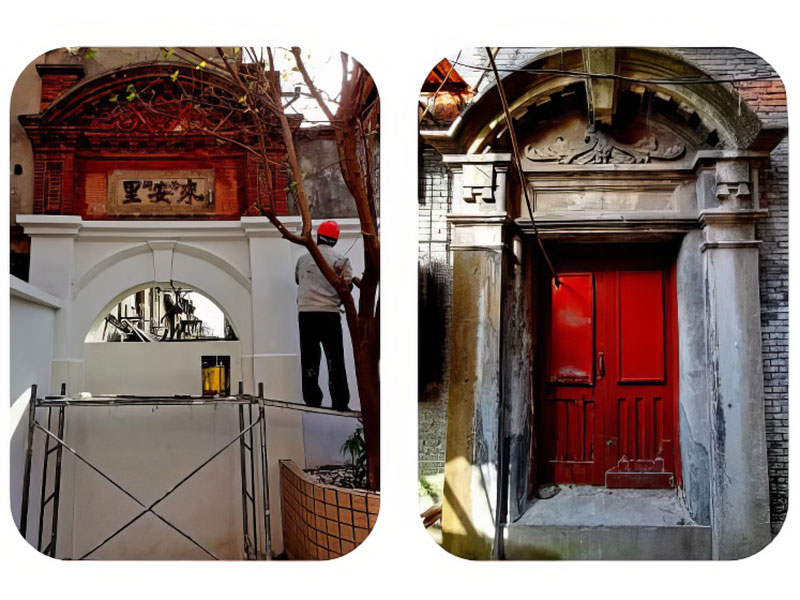
#2 Five Sentences, Two Lies
In this activity, students describe part of a photo which is hidden from their partners. Their partners listen to the description and try to identify any lies they hear. (This is similar to “Two truths and a lie”, but instead of talking about themselves, students describe part of a photo.)
Level: Beginner – Intermediate
Timing: 5-10 minutes
Class size: 3+
Preparation:
Find or take photos which include a lot of detail. The more details there are, the more students will be able to talk about. You could also ask students to bring in their own photos. Cover up around one third to one half of each photo. Be prepared to show the original photo to some members of the class and the covered-up photo to the remainder. Alternatively, hand the ‘full’ photo to select students and ask them to cover the top or bottom of the photo themselves.
In class:
-
Put students into small groups of around 3-5 students.
-
Show the original photo to one student in each group.
-
Show the remaining students the partially hidden photo.
-
The student who can see the full photo describes the hidden section to the rest of the group, including at least two lies.
-
The other learners in the group discuss which parts of the description were true and which were false.
Alternatives:
-
Turn this into a writing activity by showing each learner in the group a different photo at the same time. Learners then write a description of their photo (including two lies) at the same time. Learners then read each other’s descriptions one by one and try to identify the lies.
#3 Matching Descriptions
This activity encourages learners in large classes to write about a photo and compare their description with those from other learners.
Level: Elementary – Advanced
Timing: 20 minutes
Class size: 16+
Preparation:
Prepare some photos for students to describe. The photos should all be of a similar subject (e.g. all landscapes, or all cityscapes, or all portraits, etc.). Alternatively, ask all the students in the class to bring in photos on the same topic. You’ll need half as many unique photos as you have students in the class. If you have twenty students in class, you’ll need two copies of ten photos. If you have thirty students, you’ll need two copies of fifteen different photos.
In class:
-
Divide the learners into two groups, group A and group B. The groups should have equal numbers of students. Sit these students far enough away from each other so each group cannot see what the other group is doing.
-
Give one copy of each photo to the students in group A and one copy of each photo to the students in group B. Tell students not to show their photo to anyone else.
-
Each student should write a description of their photo and put their name at the top.
-
Collect the descriptions. Stick the descriptions from group A on one side of the room and the descriptions from group B on the other side of the room. Ask students to put their photos out of sight until the end of the activity.
-
Tell the students from group A to look at group B’s wall and students from group B to look at group A’s wall. Learners read the descriptions and try to imagine what each original photo looks like.
-
After reading all of the other group’s descriptions, learners guess which one describes the photo which they wrote about. Students note the name of the student who wrote this description.
-
Students then read the descriptions on their own wall. They should try match the descriptions on one wall with the other, by noting the names of students with similar descriptions (i.e. which student in group A described the same photo as which student in group B).
-
Students check their answers by showing each other the photo they described.
-
Ask students to share some useful descriptive language they learned from reading their classmates’ descriptions.
Alternatives:
If you have an odd number of students in the class, you could:
-
Ask two students to work together as a pair, describing the same photo. One student could describe while the other writes. These two students could then work together to read descriptions from the other group to try to find the matching photo.
-
Split the class into three groups. You would need three copies of each photo. Students would then need to find two descriptions matching their own.


#4 Half Photo Description
In this activity, students work in pairs, looking at different halves of the same photo. Together, each pair writes sentences describing the complete photo.
Level: Elementary – Advanced
Timing: 10 minutes
Class size: 2+
Preparation:
Find some photos and cut these in half. The photos can be of just about anything. You’ll need one half per student.
In class:
-
Put students in pairs, facing each other (or sitting back-to-back).
-
Give each student half a photo. The students should keep these hidden from each other.
-
Tell students they have two halves of the same photo. They must write as much as they can about the whole photo. They cannot write about the halves separately, only the whole photo.
-
After writing, ask learners to check how accurate their descriptions were by looking at the whole photo.
-
Invite students to share some of their descriptions with the rest of the class.
-
Give feedback on these descriptions and suggest alternative vocabulary when you feel it would help the students.
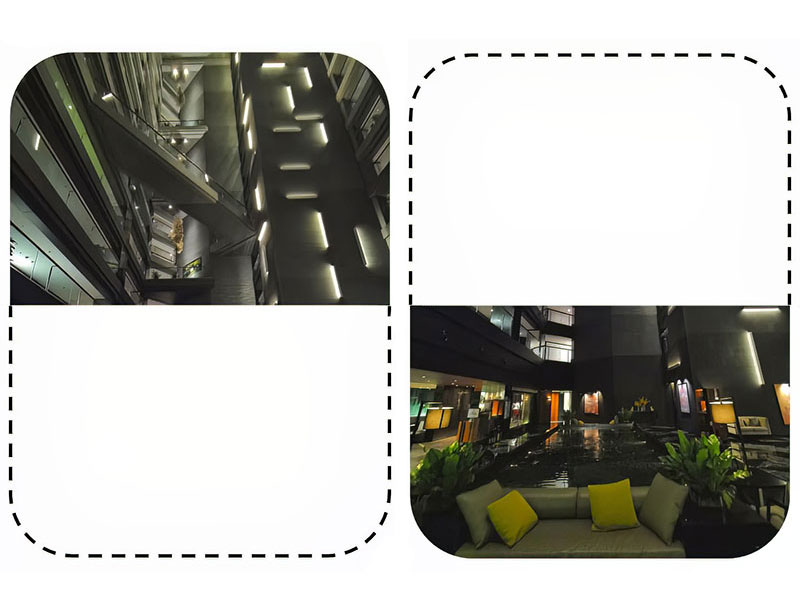
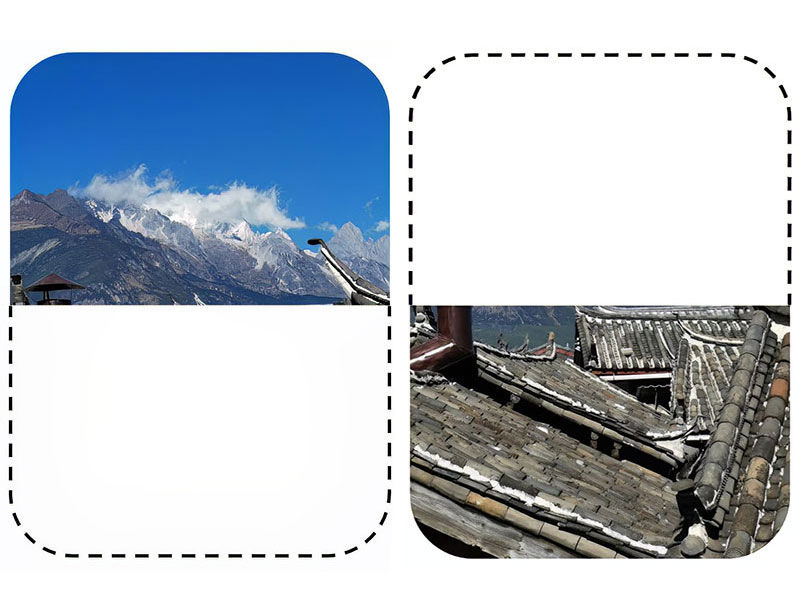
#5 Remember the Photo
In this activity, students look at photo for a few seconds and try to remember as much as they can about it. Then the photo is hidden from all but one of the students. They must describe the photo, slipping in one or two lies in the process. The other students need to listen carefully to catch the lies.
Level: Beginner – Intermediate
Timing: 5 minutes
Class size: 2+
Preparation:
Select a few photos which include a lot of detail. Prepare to show these to the whole class.
In class:
-
Put students in small groups of 3-4 students.
-
Show the students 3-4 photos. Let them look at these for 2-3 minutes, focusing on details.
-
Give each student in the group a different photo from this set. They should keep this hidden from the rest of the group.
-
Each student should write about their photo for 2-3 minutes. Their descriptions must include at least one lie (but could include more).
-
After finishing the description, students should show (or read) their descriptions to the rest of the group (while keeping the photo hidden).
-
The other students in the group read the descriptions while picturing the photo from earlier from memory. They then work together to decide which details are true and which are false.
Alternatives:
-
Turn this into a speaking activity. Give students a few seconds to think about what to say before speaking about a photo for ninety seconds. At the end of the speaking time, the other students in the group decide which details were true and which were false.
Want to deliver engaging lessons?
Take Trinity’s internationally recognised TESOL qualification with EfA.

