

19th June 2026
All teachers are materials writers. We all make worksheets, think up activities, select texts, and create writing assignments. There is, however, one type of material that is extremely challenging for us to make ourselves. Audio.
Matching the quality of audio from coursebooks is extremely difficult. Coursebook recordings usually include a range of accents, speakers of different ages, and speakers of different genders. Recordings are made using high-quality microphones in expensive studios. After recording, editors take out hiss, remove gaps, and normalise the volume. If you want to create your own audio, you might record yourself and a friend using your phone or online meeting software. But this isn’t always helpful. Your students already get plenty of practice listening to you in class. They need help with other accents. Even if you can find other speakers to record, the audio quality is unlikely to match what you find in commercially produced textbooks. All of this used to make creating your own audio a bit of a no-go zone for teachers.
But this has changed. Teachers can now create audio with a greater variety of accents than most coursebook writers previously had access to. They can generate audio with clean sound and no hiss. Teachers don’t need access to fancy studios or expensive microphones. They just need a computer and access to text-to-speech AI.
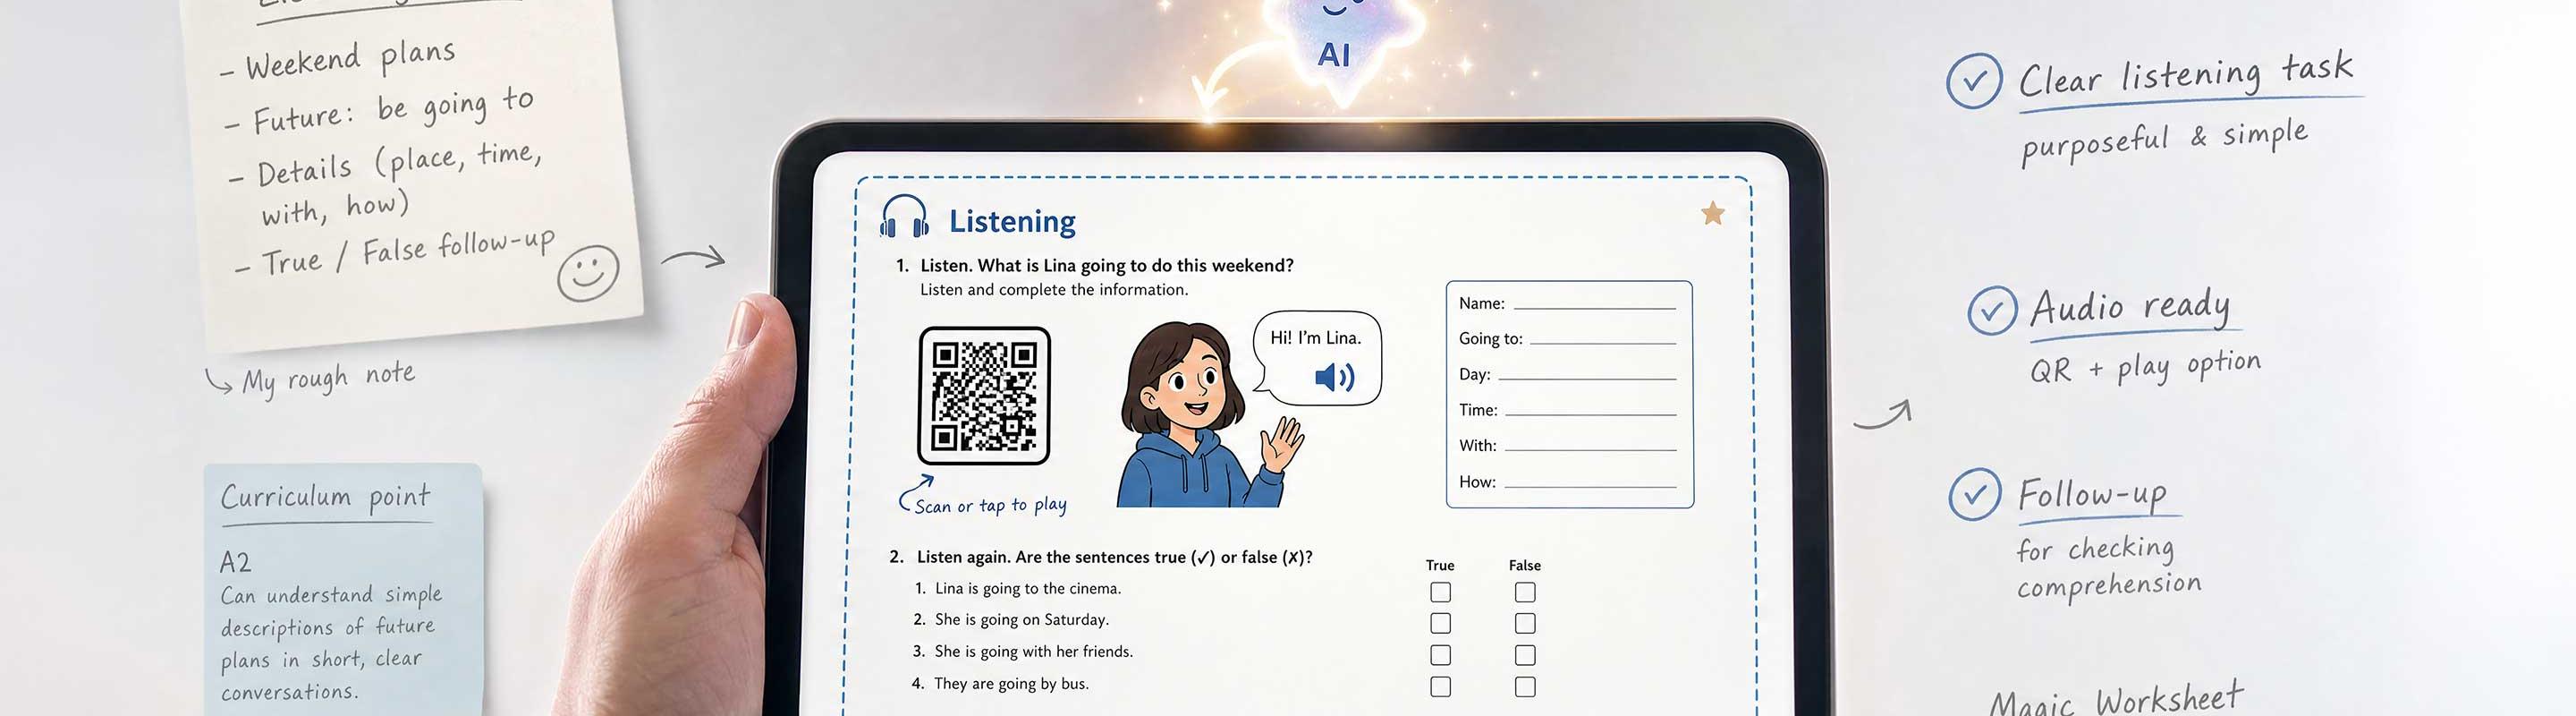
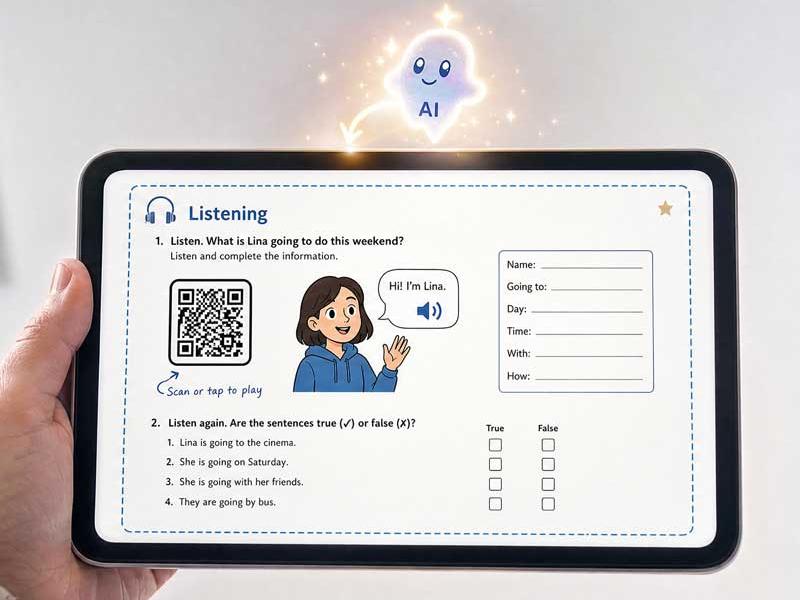
In this blog post, we’re going to use AI to generate audio for language classes. I’ll introduce some useful text-to-speech AI tools and show how to use them to create audio at the right level for your students. We’ll also look at how to create dialogues, when audio editing software is still useful, and what the limits of these tools are.
Why Use AI to Create Audio?
Text-to-speech AI makes it possible for teachers to create their own audio instead of relying only on coursebook listening texts. But why would you want to do that? You might want to use text-to-speech AI to generate audio for your classes for these reasons.
- It’s customisable. You can create audio to match the vocabulary, grammar, topics or functions your students are studying.
- It offers a range of accents. Many text-to-speech AI tools offer different accents, exposing students to a wider variety of pronunciation.
- It’s fast. Teachers can generate audio files quickly. This is usually faster than recording yourself or trawling YouTube for suitable conversations.
- You can adjust the speed. Text-to-speech software allows you to control the speed of speech. Audio can be slowed down to make it easier for beginners, or sped up to challenge advanced learners.
- It’s easy to edit. Making changes to AI-generated audio is straightforward. It’s easy to insert pauses, add or delete phrases, change the speakers, or slow down the audio.
- It can create dialogues. Many AI tools can now generate multi-speaker dialogues. This makes it easier to create listening materials with two or more speakers, without having to edit separate tracks together.
Creating Audio Scripts
If you’re creating audio, you’re probably going to create your own audio scripts first. So, before we get into using text-to-speech AI, let’s briefly look at some tips for generating audio scripts.
- Make it realistic. One of the best places to start is with real speech that has been transcribed as part of a spoken language corpus, or with short transcripts from authentic audio. Search for the language you want to include in your dialogue and use the contexts you find as inspiration.
- Don’t make it perfect. We don’t speak perfectly, so it’s okay if your audio isn’t 100% grammatically correct. Run-on sentences are common in spoken English, as are contractions, repetition, speakers finishing each other’s sentences, false starts and mistakes.
- Keep it short. What looks like a relatively short script can turn into a mammoth listening activity. Some text-to-speech tools also limit how much audio you can create at one time.
- Write scripts at the right level. Include vocabulary and grammar that you want your students to decode for meaning. Check how complex your script is before you give it to them, for example, using Hemingway Editor or Oxford’s Text Checker.
- Make it interesting. Base your scripts on topics that are relevant and appropriate for your students’ level and interests. A small problem, disagreement or decision usually makes a listening text more useful.
Generating the Text
For the most part, writing audio scripts is similar to writing listening texts. However, spoken language can be quite different from written language. Without specific instructions, AI text generators will often create text that looks like writing, rather than speaking. Make sure that you include details in your prompt about the type of text you are trying to create.
Prompt: Please write a short [conversation / monologue] for a [level] English class. The speakers are [description of the speakers]. They are talking about [topic]. Word limit [number] words. Please write this using spoken English conventions. Include contractions, short turns, natural reactions and some repetition. If it is a dialogue, make sure the speakers sound different from each other.
Example transcripts of spoken English on similar topics or in similar situations can also help. By first asking AI to analyse the transcript, the AI is more likely to focus on the key features and reproduce these in a new script.
Prompt: Read the transcript below. Analyse this transcript for features of spoken English, including short turns, contractions, repetition, hesitation, fillers, vague language, interruptions and sentence fragments. Then create a new transcript which includes some of the same features of spoken English, on the topic of [topic].
You could use the prompt above to create a new script based on a transcript of some authentic audio, like a TED Talk, podcast, interview or news report. This should help you create a script in a similar style, but on a different topic. You may not want to base your script on authentic audio, but on audio from a coursebook you are using. In that case, the prompt below can help you generate something at a similar level but on a different topic, possibly using the same characters.
Prompt: Start by analysing the transcript for features of spoken English, complexity of grammar, vocabulary and discourse, and character traits or personalities. Then create a new transcript with similar features. The new conversation should focus on [topic] and include [vocabulary or grammar].
Text to Speech AI Tools
There are now lots of text-to-speech AI tools. The exact free limits change often, so it’s better not to rely too much on numbers in an article like this. A free plan can change, a character limit can move, and a useful feature can end up behind a paid plan. Before using any of these tools in a lesson or workshop, check the current limits.
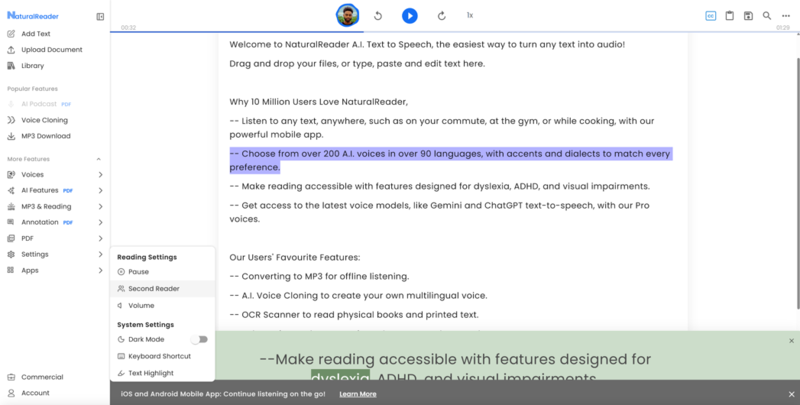
NaturalReaders has a wide range of voices. Users can search by country to choose an appropriate accent. You can listen to previews of each speaker using the default text. NaturalReaders also allows you to create dialogues using its second reader function.
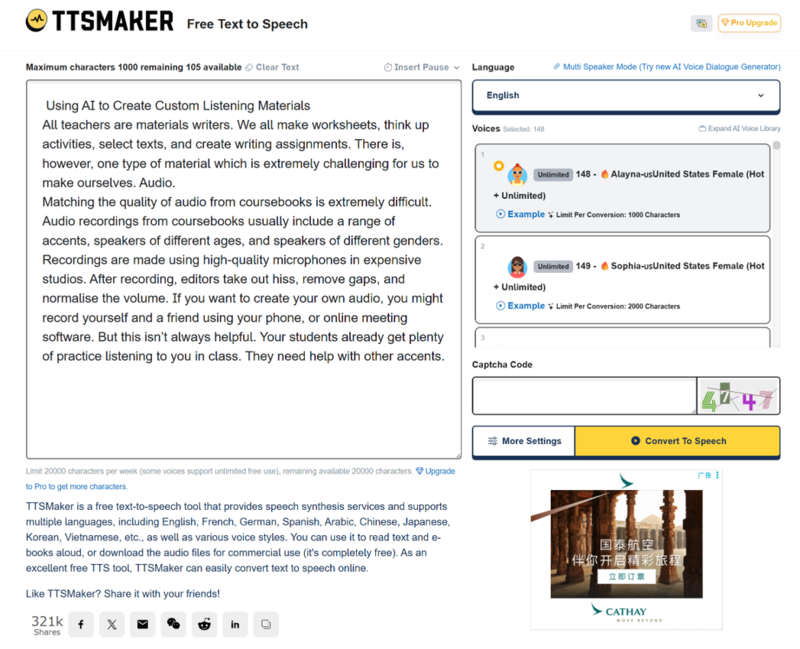
TTSMaker has a range of speakers, accents and languages. It is useful for quickly creating text-to-speech audio, and the main site allows users to listen to and download audio files. A newer TTSMaker option also allows multi-speaker dialogue generation, although this may depend on the plan you use. This is a useful update because it means teachers may not always need to create each speaker separately and edit the files together.
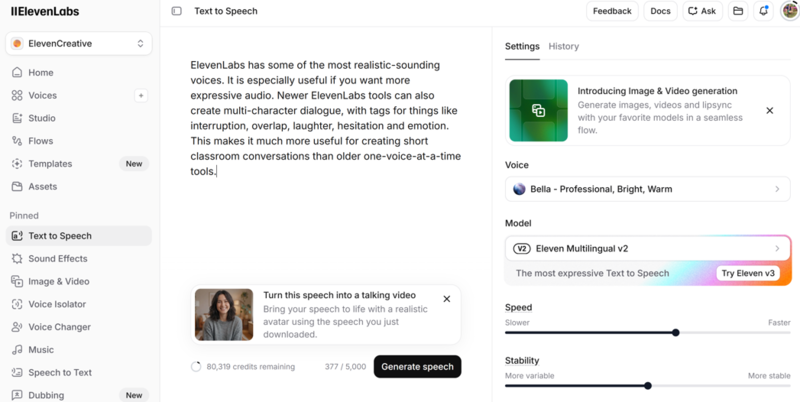
ElevenLabs has some of the most realistic-sounding voices. It is especially useful if you want more expressive audio. Newer ElevenLabs tools can also create multi-character dialogue, with tags for things like interruption, overlap, laughter, hesitation and emotion. This makes it much more useful for creating short classroom conversations than older one-voice-at-a-time tools.
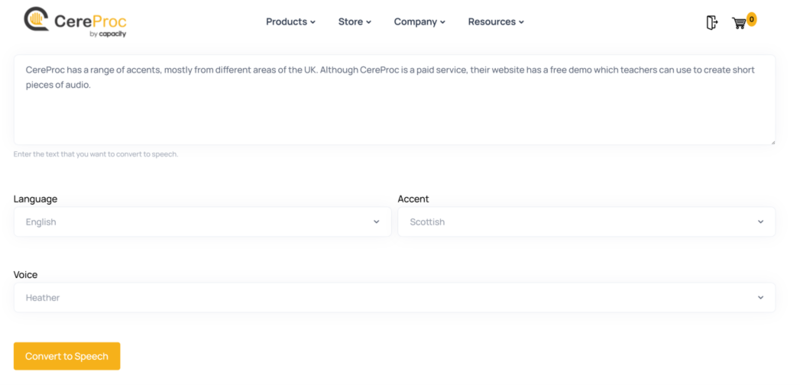
CereProc has a range of accents, mostly from different areas of the UK. Although CereProc is a paid service, their website has a free demo that teachers can use to create short pieces of audio.
Creating Audio with AI
Let’s look at how to use one of these text-to-speech AI tools to create some audio. I’m going to use TTSMaker as the example because it has okay voices, gives users control over settings, is easy to use, and most importantly, it’s free. The exact interface may change, but the basic process is similar across most tools.
Start with the text you want to turn into audio. If the tool has a character limit, check that your script is not too long before you paste it in. You can do this in Microsoft Word by highlighting the text, clicking “Review” at the top of the page, and then clicking “Word Count”. This will show you the number of characters, with and without spaces. Some tools count the spaces, so check the limit carefully.
Copy and paste the text into the text-to-speech tool. Choose the language and voice. Then listen to a preview if the tool allows this. Do not assume the first voice you choose will work. Some voices sound good in the preview but less natural with your script.
Choose a Voice
All the text-to-speech generators mentioned earlier come with a range of voices. This lets you choose the accents for your audio. Most platforms allow you to hear a short sample of each. You might want to choose accents your learners are familiar with, or accents your students are likely to encounter outside the classroom.
You can also choose the gender of the speakers. This can be helpful in making dialogues easier or more challenging for students. It is usually easier to understand a conversation between speakers with clearly different voices than a conversation between two speakers who sound very similar. I usually note down the voices that I like so I can find them quickly again in the future.
Other Settings
After choosing a speaker, set the speaking speed. These are often written as multiples, so x1.05 is 5% faster than “normal”, although “normal” varies from speaker to speaker. You might want to slow down the speed of the audio for your students. Many AI voices now sound relatively natural, even at slightly slower speeds. Some teachers may want to generate faster audio based on the needs of the class. For example, you might need to match the speed that learners will hear in a test or in a real-world context.
Small changes are usually best. If you slow audio down too much, it can stop sounding like speech. If you speed it up too much, it may become pointlessly difficult. Play around with the settings until you find a voice speed that your students will be able to work with.
Some tools include other options such as inserting pauses. To add a pause, select the place in the transcript, click the pause button, and choose the length of the pause. I find this is best done after creating a draft audio, then hearing where the pauses should be longer or shorter. If you’re really picky about pauses, you can add these yourself using audio editing software later.
When you think the settings are right, create the audio. This usually takes a few seconds. It’s unlikely your audio will sound perfect on the first attempt. Take notes on the script as you listen, adding pauses, deleting awkward phrases, changing lines and trying different voices. Go through the process again until the audio sounds the way you want it to.
Creating Dialogues
Why Dialogues?
Dialogues are one of the most common forms of audio that we ask students to listen to in class. In the past, one of the biggest drawbacks of many text-to-speech tools was that they only created audio one voice at a time. That meant teachers had to create separate audio files for each speaker, then edit them together.
That is no longer always true. Some tools now allow users to create multi-speaker dialogues directly. This makes the process much easier. However, audio editing software is still useful if you want more control over timing, overlap, pauses, background noise or volume.
So there are now two main ways to create dialogues. The quick way is to use a tool that generates multi-speaker dialogue directly. The more controlled way is to create each speaker separately and edit the audio together yourself.
Creating Dialogues Directly
If the tool supports multi-speaker dialogue, start by formatting your script clearly. Use speaker labels and keep each turn short. Choose a different voice for each speaker. If the tool allows delivery notes, add these only where they help.
For example, you might write something like this.
Andy: I was going to suggest the Thai place.
Bob: Again?
Andy: What do you mean, again?
Bob: We went there on Friday.
Andy: Oh, right. Yeah. Sorry, I forgot.
Bob: How about the new noodle place?
Andy: That works for me.
Some tools also allow simple directions such as “hesitates”, “laughs”, “interrupting” or “annoyed”. But don’t overdo it. The more instructions you give, the more that can go wrong.
More importantly, you also don’t need to aim for perfection. Your students do not need NPR-quality audio to learn from a listening. They need audio that is clear enough, useful for the lesson, and close enough to the kinds of voices and accents they are likely to hear outside class. If the dialogue does the teaching job, it is good enough.

After generating the dialogue, listen carefully. Check that the speakers are easy to tell apart, the timing sounds natural, and the lines are clear. If anything sounds wrong, edit the script and generate it again.
Audio Editing Software
Using AI to create audio does not mean you never edit audio again. That would be like using ChatGPT to help plan a lesson and then deciding you no longer need Microsoft Word. The AI gives you the audio. You may still want to tidy it up. For example, you might want to cut an awkward pause, make one speaker louder, add background noise, create a bit of overlap, or mix AI voices with your own recording. This is where audio editing software helps.
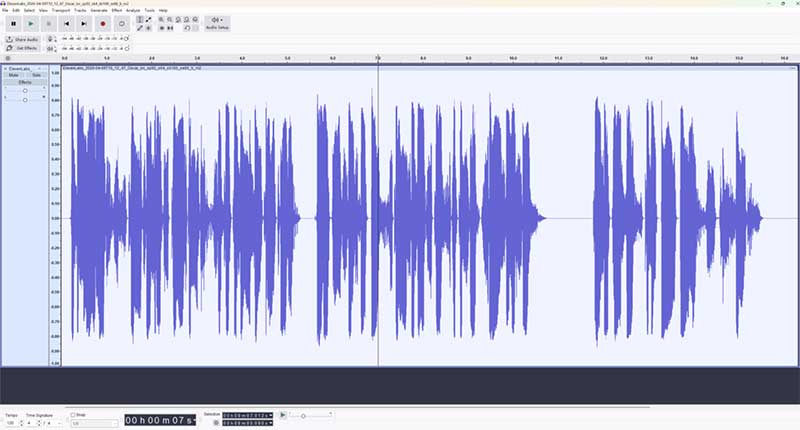
Audacity is a good option. It is free, open-source audio editing software. Although it was designed for recording and editing music, it has everything you need for basic voice editing. You can also use online tools such as AudioMass or TwistedWave if you do not want to install anything.
For most simple classroom dialogues, start with a multi-speaker text-to-speech tool. Generate the dialogue, listen to it, and use it if it sounds good enough. Open Audacity only when the audio needs cleaning up, extra sound effects, or more control over timing and volume.
Sound Effects
If you want to make your audio more realistic, you can add sound effects over the top. For a dialogue taking place in a train station or airport, you might want to add some background noise. For a phone call, you might add a ringtone. For a café conversation, you might add quiet background chatter.
There are many free repositories for sound effects, such as Pixabay and ZapSplat. After downloading the files, import them into your audio editor and place them on a separate track. Adjust the volume so the background sound does not drown out the speech.
Sound effects can help, but don’t get carried away. If the background noise makes the speech too hard to hear, it is no longer helping. It is just making your listening lesson annoying.
Limitations
As with all AI technology, there are limits to what text-to-speech AI can do. Creating dialogues is now easier than it used to be, but it still needs checking. Multi-speaker tools may mix up speakers, create odd pauses, make emotions too strong, or produce dialogue that sounds too clean. Audio editing software gives you more control, but it takes a little more time.
The main limitations are still with the voices themselves. AI voices aren’t real. That means they may miss some important aspects of real-world speech. This isn’t just a problem with AI-generated audio. Much of the audio in coursebooks, and even tests, is quite different from real-world speech. Make sure that you supplement AI-generated audio with audio from authentic listening texts and your coursebook.
Although AI speech generators offer a range of accents from different countries, not every country or accent is available. The accents available may still skew towards more prestigious varieties of English. You might not be able to find the exact accent you want. But unless you work at the UN, you’ll probably have access to more accents than you did previously.
Free plans and tool limits also change often. Before recommending a tool to teachers or building a workshop around it, check the current limits. Some features, especially multi-speaker dialogue and emotional control, may only be available on paid plans.
Finally, be careful with voice cloning. Do not clone a real person’s voice without permission. For most classroom listening materials, use the stock voices provided by the tool. They are usually more than enough.
Conclusion
AI tools are changing how teachers create listening materials. These tools are fast, customisable and often easy to use. Teachers can now make clean audio with a wider range of voices and accents than before.
The biggest update is dialogue. Teachers no longer always need to create one voice at a time and edit the files together. Some tools now create multi-speaker dialogues directly. That makes AI much more useful for listening materials, especially short classroom conversations.
However, there are still limits. AI voices aren’t perfect. Dialogue tools still need checking. Free plans change. AI-generated audio may also miss some features of real-world speech. But overall, these tools give teachers new options. With a computer and a few AI tools, teachers can now create custom listening texts for their classrooms that would have been impossible to make before.
Editor's Note: This post was originally published in October 2024. The author, Ross Thorburn, has fully updated it for 2026 to reflect the latest changes, including text-to-speech tools and their new multi-speaker dialogue features.